2) Everytime you get a fine or better at a league point you are memorizing the route. It will take several passes over that LP to learn it, but eventually you will no longer need charts for the memorized routes.
|
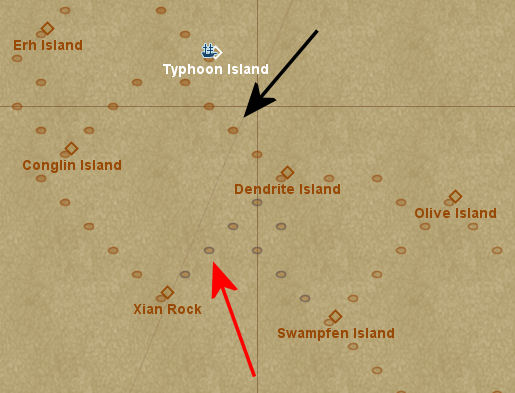
The red arrow points to a dot (LP) that is not memorized and only accessible with a chart. The black arrow points to a dot that is memorized, and I will never need a chart to sail from Typhoon to Dendrite again! |
|
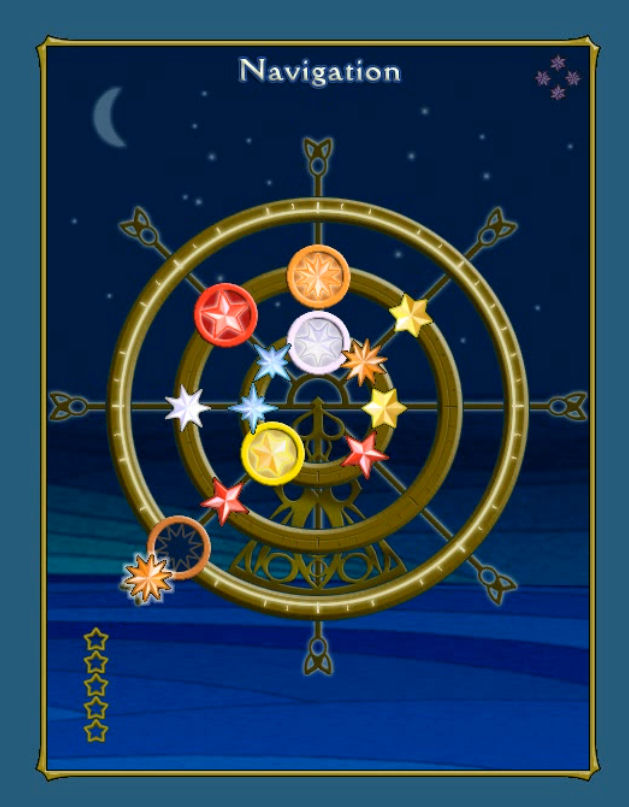
| Now to the game. if you are just starting you will not see as many circles as I have, but the idea is the same; you want to fill each circle with the cooresponding star. Once all the circles are filled, then the board clears and you get another. Most of the time, the stars that were not in circles will remain for the next board. |
|
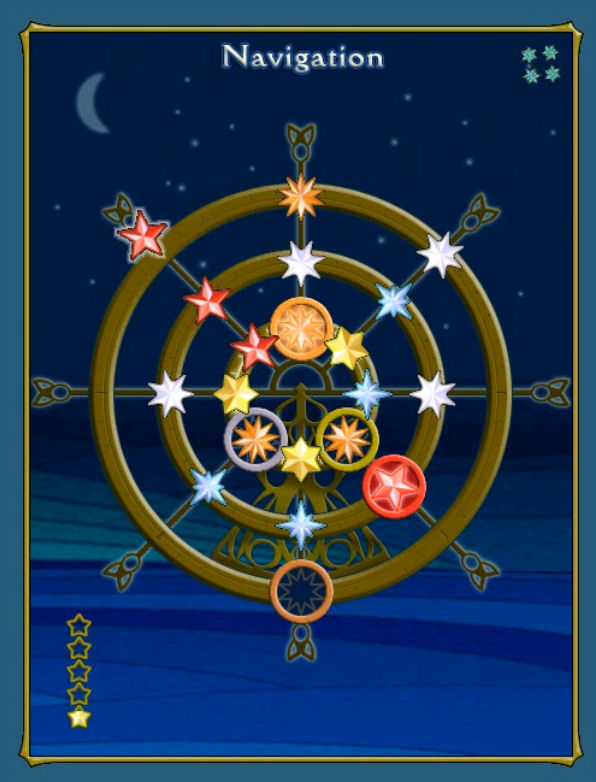
| Stars will also clear if you get three in a row around a circle or in a line outward. |
|
| Video Goes here | When filling in spaces, it is not neccessary and often helpful to NOT try to match up the colors. |
| The number of moves is not a factor, so switching the circles around to make sure you are not messing up the pattern of placement is useful. | |
| If you need to change the color of a star, it is usefut to have one of the color you need next to the one you are getting rid of next to each other on a higher circle. | |
| It is usually best to have as few star on the board as possible, you can walk stars into place with one more star than you need on the lower row. |